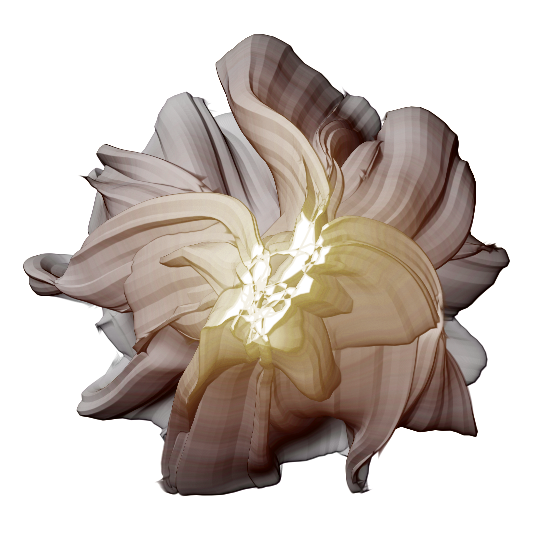
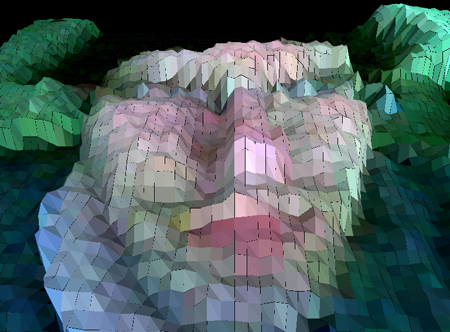
Allowing Processing to capture video input from a camera is a relatively easy task (easier on a mac then pc, unfortunately). Beyond that, however, the notion of getting a computer to 'see' can be a daunting talk to say the least. It is one thing to grab an image from the camera and use that image to process other actions on the screen (such as creating a 3-d model from the video as pictured above); it is an entirely different task to create code that allows processing to determine what is actually happening through the camera. For this section of the course, we will focus on the task of taking the imagery coming from a camera and generating visual information based on that input.
The Video Library:
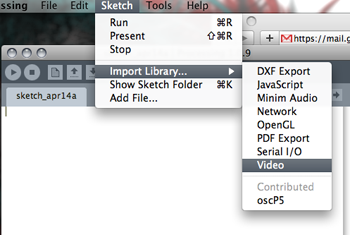
As with audio input, we must first import the proper library in order to access the quicktime capture functions in Processing. This is done by importing the 'video' library:
Much like the process of declaring and instantiating the Minim and AudioInput objects, we must do the same with the Capture video object, like so:
Capture myCap;
void setup()
{
size(640,480);
myCap = new Capture(this,640,480,30);
}
This will create a Capture object named myCap which will capture video at 640x480, 30 FPS.
Now that we've created a Capture, we probably want to get the imagery from the camera and use it. This is done through the captureEvent() function as so:
//create an image - c
PImage c;
void captureEvent(Capture myCap)
{
myCap.read();
// assign the contents of the capture to the image 'c'
c = myCap;
}
void draw()
{
// will now draw the contents of the camera image to the screen
image(c,0,0);
}
Ok, now we've drawn what the camera is seeing to the screen. Well enough, but in the end, not very interesting. Fortunately, Processing gives us several tools for accessing information within the captured image, such as its brightness, and color content. This is done by getting the color informaiton at a particular spot in the image and evaluating its brightness or color - like so:
float bright = 0;
float redness = 0;
color a = new Color(0,0,0);
//get the color of the image at x,y and store in the Color variable 'a'
a = myCap.get(x,y);
/*get the brightness of that color by using the brightness function on 'a' and assign it to the variable 'bright' */
bright = brightness(a);
//get the red value of the pixel
redness = red(a);
These brightness and color values are returned by default in a range of 0-255. In order to get these easily manipulated numbers, processing is converting the color information from binary (a string of 24-32 0's and 1's) into integer numbers. This is a computationally expensive process which should be used sparingly. The more efficient method for accessing and manipulating color information is by keeping it in binary and using bitwise operators, below is a color represented numerically, and in binary:
color c = color(255, 204, 0);
println(c); // Prints -13312
println(binary(c)); // Prints 11111111111111111100110000000000
println(binary(c, 16)); // Prints 1100110000000000
For detailed information on binary operations, consult the 'bitwise operators' section of the processing reference pages.
Please download the following Pde files, which contain examples of using Capture, captureEvent, get() and set();
3. video_scroll_variable_speed_scan.pde
